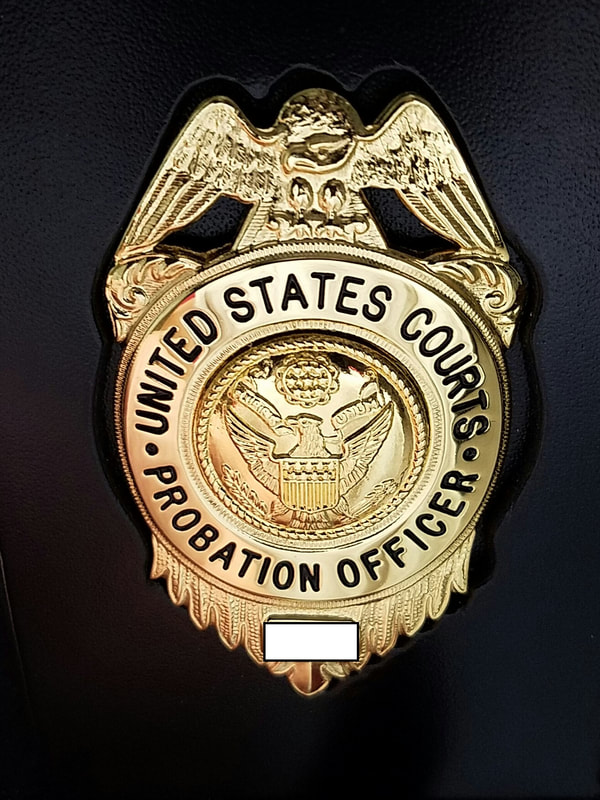
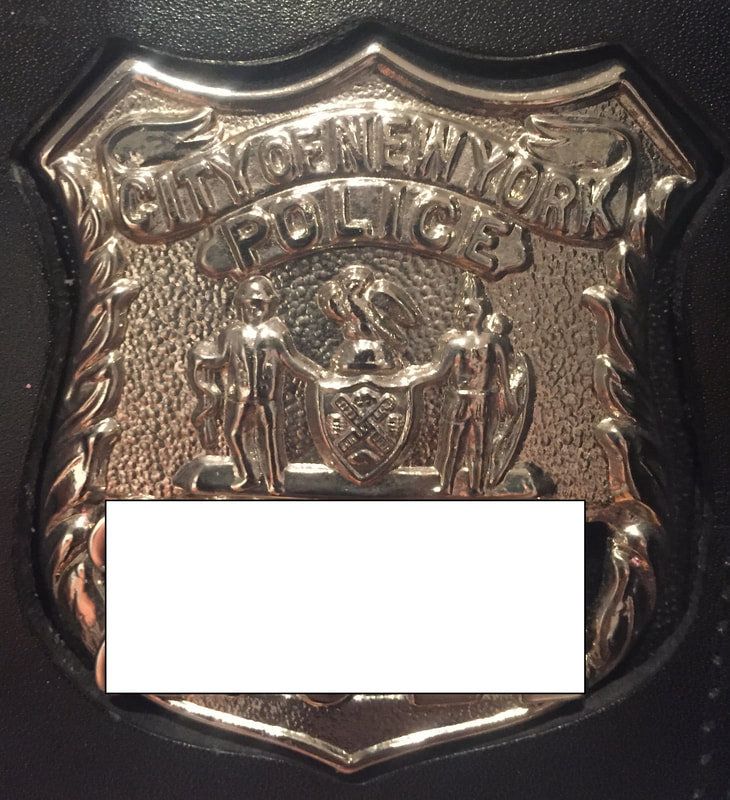
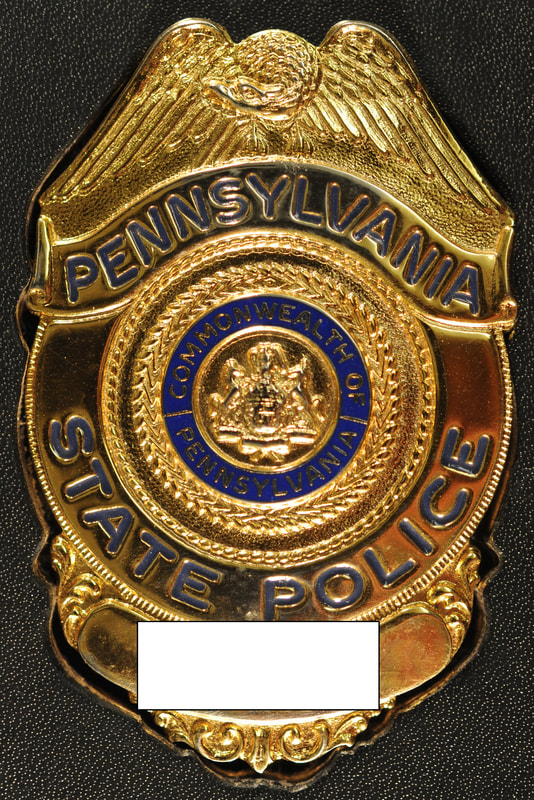
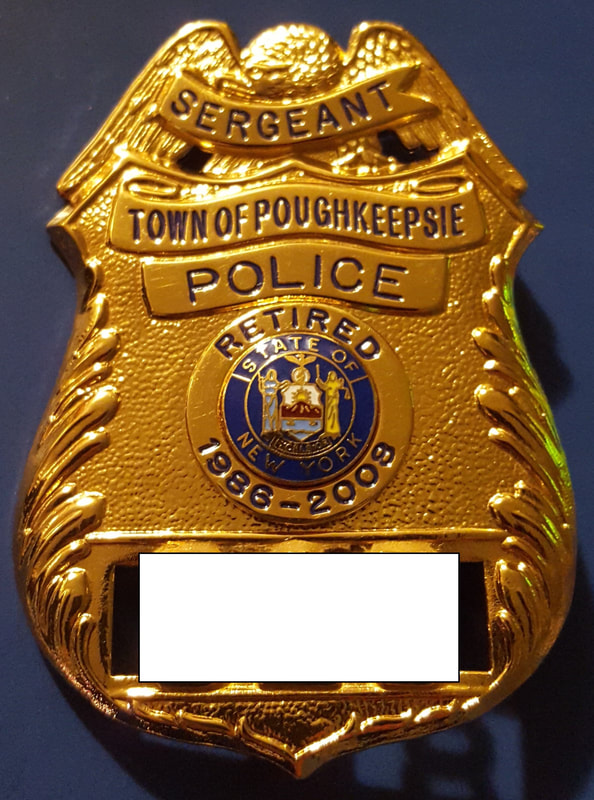
Some tips and guidelines when photographing your badge
Please read over these tips. They should help you capture a quality image that can be used. Please keep in mind that the actual image you send will be used to make the plaque. Feel free to email us numerous shots if you are unsure which one is the best. We will review the images and work with you to get it right.
Most cell phone cameras will work just fine. These tips are mostly geared for someone using a cell phone camera.
- EDGES-Be careful not to cut off any of the edges or parts of the badge
- LIGHTING- badges are typically shiny, which can be problematic when photographing them. Usually, using an external light source is recommended. Try using a soft light that you can move around the badge to get the right lighting. Two light sources may be necessary. DO NOT use the CAMERA FLASH. Trial and error is definitely going to come into play.
- NO ANGLES- photograph the badge "head on". Shooting it at weird angles will change the shape of the badge in the photograph
- BLURRING- Blurring may occur when the camera lens moves. A tripod is optimal but not necessary. Steady the camera when taking the shot.
- BACKGROUND- use a solid background of either white or black. Try using a cloth that is not shiny. Black tends to work better for gold badges.
- REFLECTIONS- Be mindful that your hand, camera, face may end up in the reflection. Try covering your hand/camera/ etc with a white cloth or change angles.
- NO ZOOM- try not using any zoom features. Instead get as close as possible with the camera. Do not have a bunch of excess in the photo. The badge should take up all of the shot but without cutting off any edges.
More tips
- Try propping up or pinning your badge so it sits vertically while you photograph it. This may help with shadowing / lighting issues. Positioned correctly, it also allows you to steady the camera on the horizontal stable surface.